
In This Article
Method 1: Using Bluetooth to Connect Alexa to Laptop
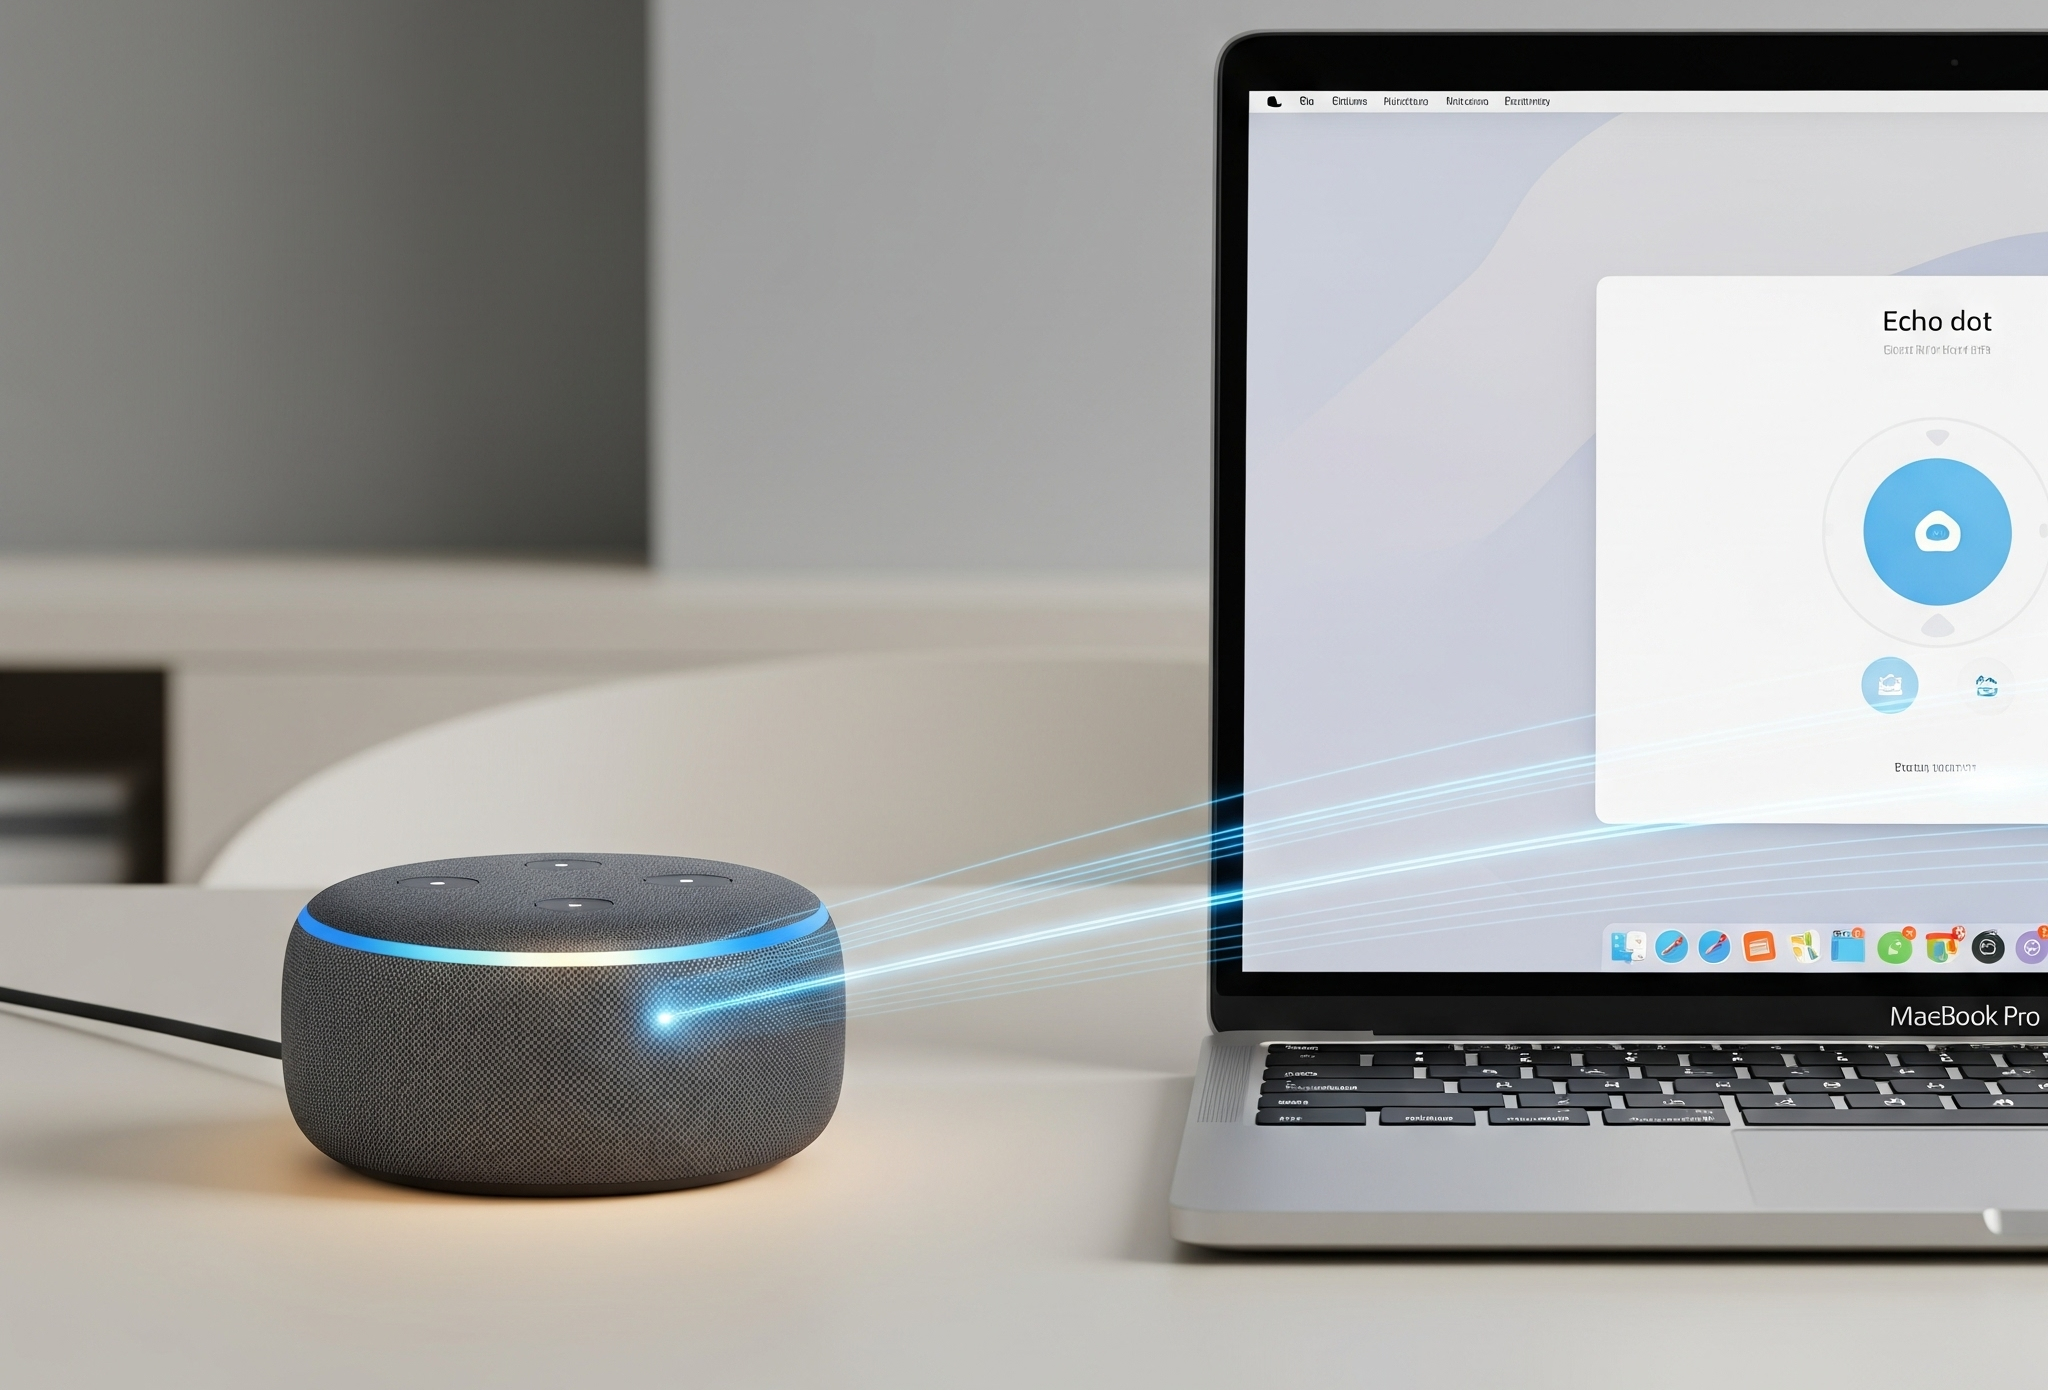
One of the most popular reasons to connect Alexa to laptop is to leverage its audio capabilities. Your Echo device can double as an excellent external Bluetooth speaker, providing richer sound than most built-in laptop speakers. This is a fantastic solution for enjoying music, podcasts, movies, or even online meetings with better clarity and volume.
Making the Connection: Steps for Both Windows and Mac
The process for connecting your Alexa device as a Bluetooth speaker is largely similar for both Windows and Mac laptops. Here’s a step-by-step breakdown:
On Your Alexa Device:
- Initiate Pairing Mode: The easiest way to get your Alexa device ready for pairing is to simply say, “Alexa, pair” or “Alexa, connect to Bluetooth.” Your Echo will respond, indicating it’s searching for devices. Alternatively, you can open the Alexa app on your smartphone or tablet, go to “Devices,” select your Echo device, then “Bluetooth Devices,” and choose “Pair a New Device.”
On Your Windows Laptop:
- Access Bluetooth Settings: Click on the “Start” menu, then go to “Settings” (the gear icon).
- Navigate to Bluetooth & Devices: Select “Bluetooth & devices” from the left-hand menu.
- Turn On Bluetooth: Ensure the Bluetooth toggle is switched to the “On” position.
- Add a Device: Click on “Add device” at the top of the Bluetooth & devices window.
- Select Bluetooth: In the “Add a device” pop-up, choose “Bluetooth.”
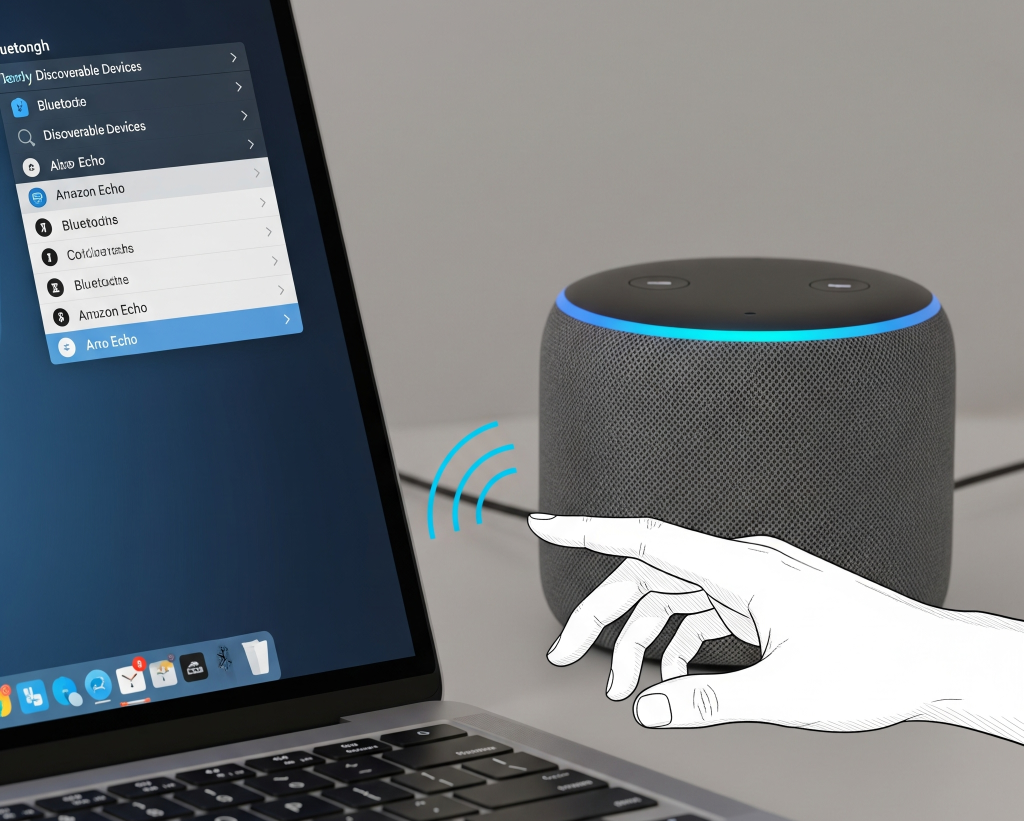
- Find Your Echo: Your laptop will now scan for nearby Bluetooth devices. Look for your Echo device (it might appear as “Echo-XXX” or similar) in the list and click on it.
- Confirm Pairing: Your laptop should confirm the connection, and Alexa will typically announce, “Now connected to [Your Laptop Name].” You can now select your Echo device as your audio output.
Connect Alexa to Laptop
On Your Mac Laptop:
- Open System Settings/Preferences: Click on the Apple menu in the top-left corner of your screen, then select “System Settings” (on newer macOS versions) or “System Preferences” (on older versions).
- Go to Bluetooth: Click on “Bluetooth” in the sidebar.
- Enable Bluetooth: Make sure Bluetooth is turned on.
- Connect to Your Echo: In the list of nearby devices, you should see your Alexa device (e.g., “Echo Dot,” “Echo”). Hover over it and click “Connect.”
- Confirm Connection: Once connected, your Mac’s audio output will switch to your Alexa device. You can verify this by clicking the volume icon in your menu bar and selecting your Echo.
Troubleshooting Bluetooth Connections
Sometimes, Bluetooth connections can be a bit finicky. If you’re encountering issues, here are a few tips:
- Ensure Proximity: Make sure your Alexa device and laptop are relatively close to each other.
- Restart Both Devices: A simple restart of both your laptop and Alexa device can often resolve minor glitches.
- Forget and Re-pair: If a connection was previously established but is now failing, try “forgetting” the device on your laptop’s Bluetooth settings and then re-pairing from scratch.
- Check Alexa App Settings: For some Echo models, the Alexa app might have specific Bluetooth settings or options that need to be enabled.
Method 2: Installing the Alexa App for PC (Windows Laptops Only)
For Windows users, Amazon offers a dedicated Alexa app that brings the full voice assistant experience directly Connect Alexa to Laptop. This goes beyond just using your Echo as a speaker, allowing you to interact with Alexa, control smart home devices, create lists, and more, all through your laptop’s microphone and speakers.
Connect Alexa to Laptop
Getting Started with the Alexa App on Windows
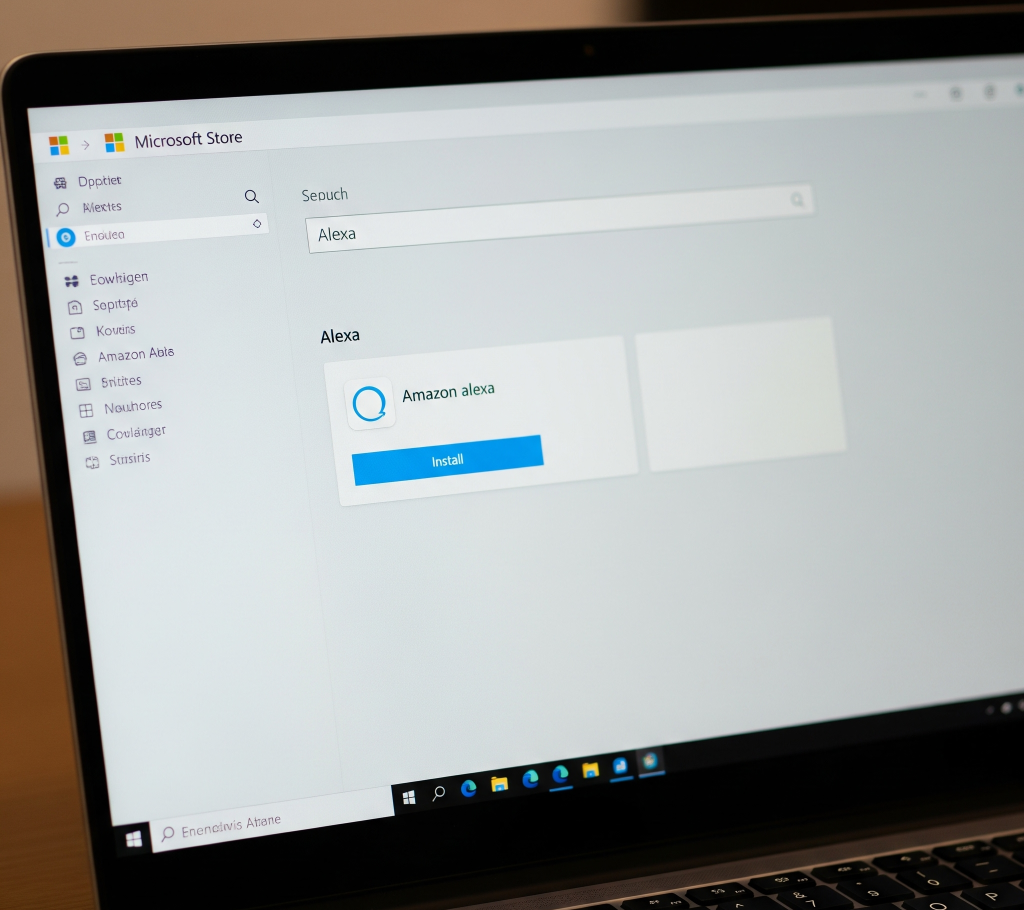
- Download from the Microsoft Store: Open the Microsoft Store on your Windows laptop. In the search bar, type “Alexa” and hit Enter. Select the official “Amazon Alexa” app from the search results.
- Install the App: Click “Get” or “Install” to download and install the application on your laptop.
- Launch and Sign In: Once installed, launch the Alexa app. You’ll be prompted to sign in with your Amazon account. If you don’t have one, you can create a new account.
- Initial Setup: Follow the on-screen instructions to complete the setup process. This may involve accepting terms and conditions and configuring basic settings like microphone access.
- Start Using Alexa: Once setup is complete, you can start interacting with Alexa. Depending on your laptop’s capabilities, you might be able to use a “wake word” (e.g., “Alexa”) to activate it, or you might need to click the Alexa icon within the app or use a keyboard shortcut (often Ctrl + Shift + A).
What You Can Do with the Alexa App for PC
The Alexa app on your laptop offers many of the same functionalities as your Echo device, including:
- Voice Commands: Ask Alexa questions, get news updates, check the weather, set timers and alarms.
- Music and Media Playback: Control music streaming services, play audiobooks, and podcasts.
- Smart Home Control: Manage your connected smart home devices (lights, thermostats, etc.) through voice commands.
- Lists and Reminders: Create shopping lists, to-do lists, and set reminders.
- Skills: Access and enable various Alexa skills to expand its functionality.
Limitations of the Alexa App for PC
While highly convenient, there are a few limitations compared to a dedicated Echo device:
- Wake Word Sensitivity: Not all laptops support “hands-free” Alexa (where it’s always listening for the wake word). You might need to manually activate it by clicking an icon or using a keyboard shortcut.
- Hardware Dependency: The quality of your laptop’s microphone and speakers will impact your experience.
- No Multi-Room Audio with Echo Devices: The laptop app functions independently and cannot be integrated into multi-room audio groups with your Echo speakers.
By understanding these methods and tips, you can effectively Connect Alexa to Laptop, transforming your computing environment into a more connected and voice-enabled space. Whether you’re enhancing your audio setup or bringing the convenience of a voice assistant to your desktop, connect Alexa to laptop is a smart move for modern digital life.
FAQs: How to Connect Alexa to Laptop
1. Can I use my Amazon Echo as a Bluetooth speaker for my laptop?
Yes, absolutely! You can easily connect your Amazon Echo device to your laptop via Bluetooth to use it as an external speaker for all your audio needs.
2. Is the Alexa app for PC available for Mac computers?
No, the dedicated Alexa app is currently only available for Windows PCs. Mac users can connect their Echo devices as Bluetooth speakers and manage settings via the Alexa web portal.
3. Can I make calls with Alexa on my laptop using the app?
Yes, if you’re using the Alexa app for PC on a Windows laptop, you can typically make Alexa-to-Alexa calls and send messages to other Alexa users.
4. My laptop isn’t finding my Alexa device for Bluetooth pairing. What should I do?
Ensure your Alexa device is in pairing mode (“Alexa, pair”), Bluetooth is on your laptop, and both devices are close. Try restarting both or “forgetting” past pairings if issues persist.
5. Can I control my laptop’s functions using voice commands through Alexa?
No, generally not. When connected via Bluetooth, Alexa acts as an audio output. While the Alexa app for PC allows voice interaction with Alexa’s features, it doesn’t offer voice control over your laptop’s operating system.
