
How to Use Timer on iPhone Camera
To use the timer on your iPhone camera, follow these steps:
- Open the Camera app.
- Tap the upward arrow (^) at the top of the screen (or swipe up on the viewfinder).
- Tap the timer icon (a clock).
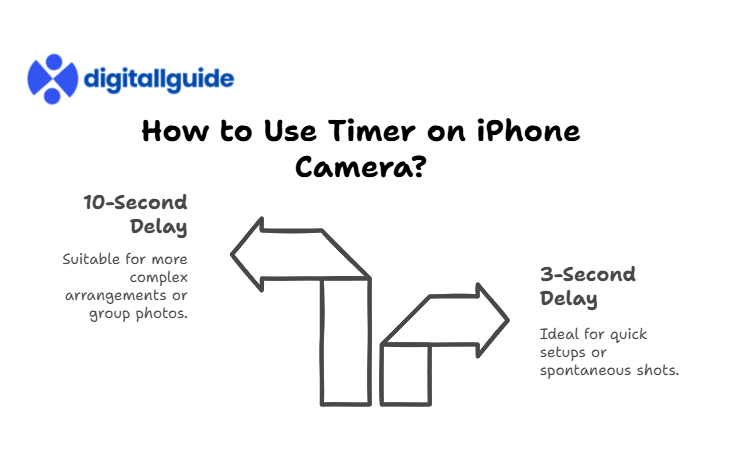
- Choose a delay—3 seconds or 10 seconds.
- Set up your shot and tap the shutter button.
In This Article
Your iPhone will start the countdown and then automatically take the photo, giving you time to get into position. It works in both photo and portrait modes.
Step-by-Step: Activating the iPhone Camera Timer
It’s easier than you think. First, open your iPhone’s Camera app. You see the usual screen, right? Now, look for a little arrow at the top of your screen. If you’re holding your phone vertically, it’ll point up. Tap it.
This opens a menu with various camera options. You’ll spot a timer icon. It looks like a little clock. Tap that. You’ll see two options: 3 seconds or 10 seconds. Choose the one you need.
Once you’ve chosen, just press the shutter button. The timer will start counting down. You’ll see the countdown on your screen. Get into position and smile! That’s all there is to how to use timer on iPhone camera.

how to use timer on iPhone camera?
Genius Tips for Perfect Timed Photos on iPhone
Just setting the timer isn’t enough for truly amazing photos. Here are some insider tips.
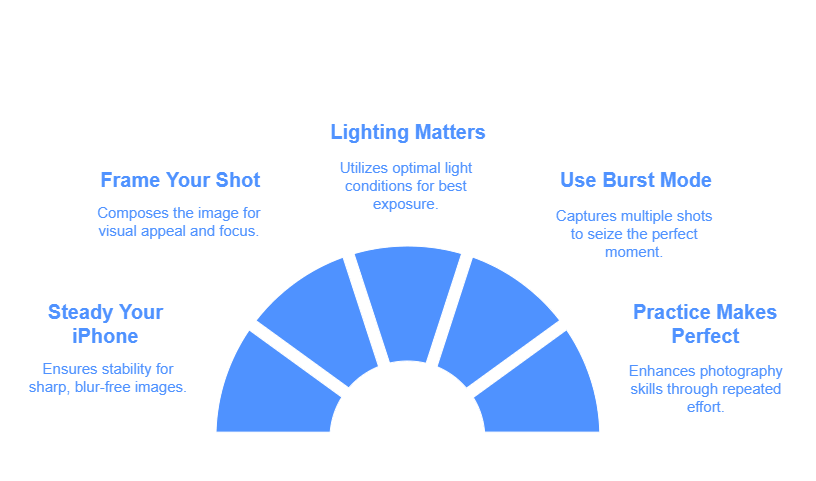
- Steady Your iPhone: Use a tripod or lean your phone against something stable. This prevents blurry photos. Even a slight shake can ruin a timed shot.
- Frame Your Shot: Before setting the timer, get your framing right. Decide where you want everyone to stand. Make sure the lighting is good.
- Use Burst Mode (Sometimes): If you choose the 10-second timer, you have time to move and pose. If you move, the burst mode will capture multiple photos. This increases your chance of getting that perfect shot.
- Lighting Matters: Good lighting is crucial. Natural light is best. Avoid harsh shadows. Face a light source for a flattering look.
- Practice Makes Perfect: Don’t expect perfect photos on your first try. Experiment with different angles and poses. The more you practice, the better you’ll get at using the timer on your iPhone camera.
- Voice Control: Did you know that you can use voice commands to start the timer? Go to settings, access accessibility, and then voice control. You can set up voice commands that say “take a picture” to activate the timer.
Exclusive Tricks: Advanced Timer Techniques on iPhone
Want to go beyond the basics? Here are some advanced techniques.
- Combine with Live Photos: Turn on Live Photos. This captures a few seconds before and after your shot. You can then choose the best frame from the Live Photo.
- Utilize Grid Lines: Enable grid lines in your camera settings. This helps you follow the rule of thirds for better composition.
- Adjust Exposure: Tap on the screen to focus. Then, slide the sun icon up or down to adjust the exposure. This ensures your photos are neither too bright nor too dark.
- Consider the Environment: Think about your background. A cluttered background can distract from your subject. Choose a simple, clean background.
- Use a Bluetooth Shutter Remote: If you want to trigger the shutter from a distance without using the timer, consider a Bluetooth remote. This gives you more control over when the photo is taken.
Powerful Apps to Enhance Your iPhone Timer Photos
While the built-in timer is great, apps can add extra features.
- Halide Mark II: Offers advanced manual controls, including timer options with custom intervals.
- Camera+ 2: Provides a variety of shooting modes and editing tools to enhance your timed photos.
- VSCO: Known for its filters and editing tools, VSCO can help you achieve a unique look for your timed photos.

how to use timer on iPhone camera?
Effective Ways to Use the Timer for Different Scenarios
- Solo Travel: Perfect for capturing yourself in scenic locations without relying on strangers.
- Family Photos: Get everyone in the frame, including yourself.
- Product Photography: Ideal for showcasing products with consistent lighting and angles.
- Action Shots: Use the timer to capture yourself in action, like jumping or running.
Essential Tips for Troubleshooting iPhone Camera Timer Issues
Sometimes, things don’t go as planned. Here’s how to fix common issues.
- Timer Not Activating: Make sure you’ve selected a timer duration (3 or 10 seconds).
- Blurry Photos: Ensure your iPhone is stable. Use a tripod or lean it against a solid surface.
- Poor Lighting: Adjust the exposure or move to a better-lit area.
- Camera App Freezing: Close and reopen the Camera app. If the issue persists, restart your iPhone.
FAQ: How To Use Timer On iPhone Camera
Q: How do I set a timer on my iPhone camera?
A: Open the Camera app, tap the arrow at the top, select the timer icon, choose 3 or 10 seconds, and press the shutter button.
Q: Can I customize the timer duration on my iPhone?
A: No, the built-in Camera app only offers 3 and 10-second options. Some third party apps offer more options.
Q: How do I avoid blurry photos when using the timer
? A: Use a tripod or lean your iPhone against a stable surface.
Q: Can I use voice control to start the iPhone camera timer?
A: Yes, you can set up voice commands through Accessibility settings.
Q: What are the best apps for enhancing timed photos on iPhone?
A: Halide Mark II, Camera+ 2, and VSCO are excellent options.
Q: How do I get everyone in a group photo using the iPhone timer?
A: Frame your shot, set the timer, and ensure everyone is in position before the timer reaches zero.
Q: What should I do if my iPhone camera timer is not working?
A: Ensure you’ve selected a timer duration, close and reopen the Camera app, or restart your iPhone.
Q: How do I use burst mode with the timer?
A: Select the 10 second timer, and after the timer finishes, the camera will take multiple photos in quick succession.

This Post Has 3 Comments
Pingback: Why Are My Pictures Blurry on My iPhone Camera Roll? - Digitallguide
Pingback: How to Fax From iPhone (The Proven Methods) - Digitallguide
Pingback: Apple's iPhone History, Models, Features, and Common Problems - Digitallguide